

Are you bothered about how to lace your baseball cleats? Does it look intimidating to you?
Well not to worry, I have a detailed step-by-step process in this article on how to lace your cleats without any hindrance.
Let’s get into it!
Why Do Baseball Cleats Have a Flap?
The flap provides padding and cushioning between the laces and to the top of the foot as well. The flap also tries and protects the baseball laces, what does that mean technically, well it means that the laces will be protected when your slide or when your making diving catches. You also get your baseball laces protected at all times from getting undone or prevent you from tripping either.
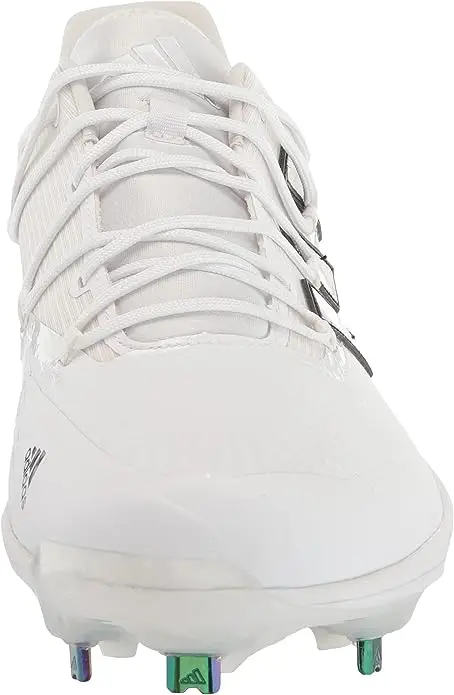
How to Lace Baseball Cleats
Step 1: Make sure when tying the laces that both of them are even in length.
Step 2: Start with the eyelets that are the bottom which means the ones that are closest to the toes, and pass it through them. Pull the laces until they are evenly balanced.
Step 3: Crisscross the laces when trying to tie them up. Take the left laces and then pass them through the other eyelet on the other side of the cleat. Do the same for the right side cross it diagonally to the other eyelet on the other side of the cleat.
Step 4: Repeat this crisscrossing method until you reach the top of the cleat. Pull it tightly and then make sure it is securely fit and snug.
Step 5: Some payers prefer to skip an eyelet near the ankle area for more flexibility that will elevate your performance to the next level. If desired you can always skills eyelet then you can continue the crisscross pattern.
Step 6: Once you reach the top of the eyelets of the cleats then tie a secure knot or a double knot to keep the laces in place in case you are playing rough on the field. Make sure that the laces are not too tight or too loose and should allow yout o move flexibly as well as give you enough mobility when playing on the field.
Step 7: If the laces are too long, you can tuck them into the sides of the cleats or use locks or lace keepers to keep them securely in place. Be cautious not to leave any of the lace that may interfere when you are playing the game.
So there it is how to try and tie your laces up. It’s quite simple, might be difficult at first but will eventually get easier as you keep doing it.
Conclusion
Well, so I hope that this article will help you get the type of training that you need to tie your laces neatly and systematically.