
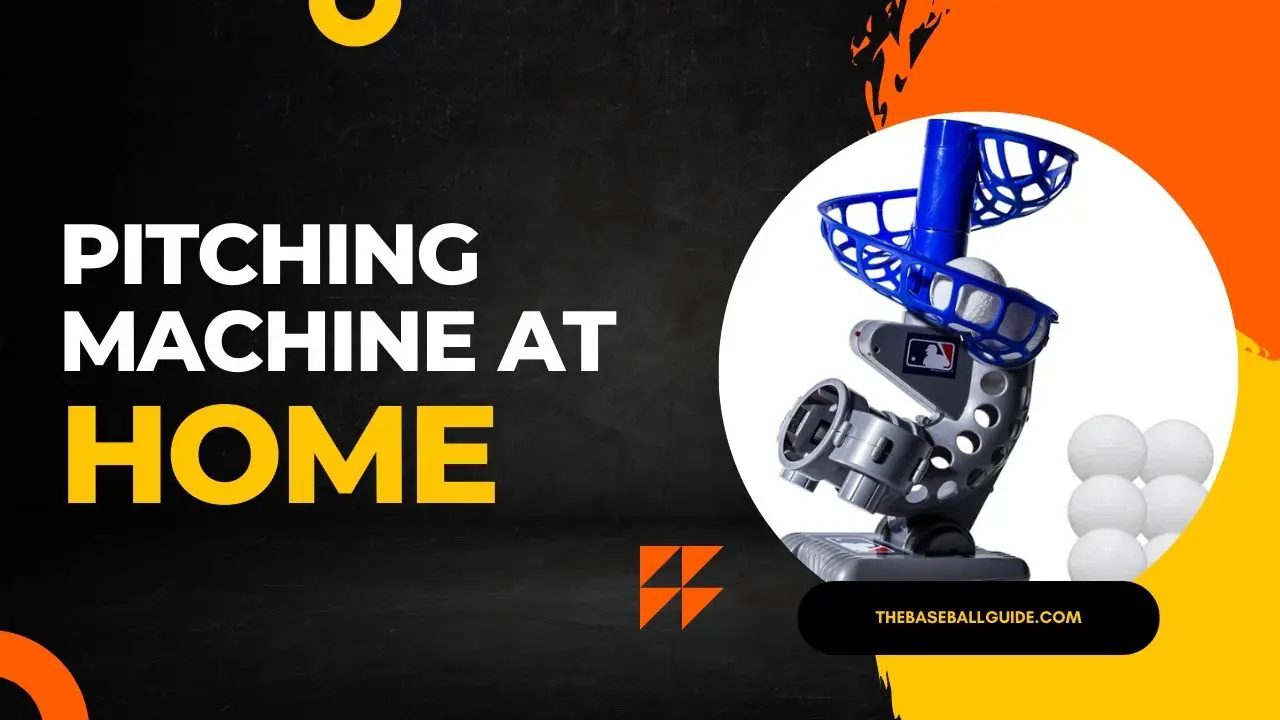
Are you looking for the perfect type of pitching machine, but your budget can’t makes it? So you’re finding a way to make one at home from scratch.
Well not to worry, because I got your back and I have just the process and steps on how to make yourself the perfect pitching machine for yourself.
So let’s get started, shall we?
Materials Required for DIY Pitching Machine
As suggested before you do need a few items, while this may be a really great and easy way for you to work with, do be sure that the things and materials mentioned here need extreme care and perfection to handle. So do be sure to be careful when making these.
The materials that you’ll be needing for this are as follows:
- Motors: You’ll need one or two motors capable of propelling the baseball or softball.
- Power source: Batteries or a power supply to run the motors.
- Wheels or tires: To grip and propel the ball effectively. Frame: A sturdy frame to hold all the components securely.
- Speed control: A mechanism to adjust the pitching speed.
- Trigger mechanism: To release the ball at the appropriate time.
Step-by-Step Guide for Making a Pitching Machine
Step 1: Design Your Machine
So here’s what you gotta do first, design your entire machine first, and take as much time when you do this. Make sure that you have the motors, wheels, power source, and everything else in place and an understanding of how everything should be done. Then you start assembling the frame itself. Build a solid frame to hold all the components mentioned above here, use wood metal, or anything else to make sure that everything is nice and stable for you to be able to carry each of these things easily.
Step 2: Attach The Motors
Attach the motors, the next step is to attach your motors to the frame so that it will be easy to move and rotate the tires easily and effortlessly as well. The next thing you must do is try and create a trigger mechanism that mechanism is supposed to release the balls at any given point of time without any hindrance or pressure whatsoever. This can be done by adding springs, solenoids, or other mechanical devices if needed.
Step 3: Get A Speed Controller
Then the next step that you must do is to try and ensure that you have attached a speed controller. A speed controller is of must since you will be able to control how fast you want your pitches or how slow you desire them to be. Either installing one is of great importance. You should try and install them with the help of a dial, lever, or even an electronic controller.
Step 4: Make Sure You Have A Power Source
Do make sure that you have a power source as well. Something like batteries or anything else that will able you to try and control it and charge it very well according to your desire. Even a power supply is great enough to give you that sort of power to power up the entire mechanism. Do make sure you even have some safety measures, since you are building this entire thing out if scratch the risk of getting hurt is very likely so be sure to try and make the best use possible and try to get everything in a position that it is safe to use for you and for other as well.

Step 5: Install Safety
There should be enough safety features to protect users from fast-coming projectiles and other moving parts as well. Do make sure to also add a safety switch or guard to prevent accidental operation.
Step 6: Test It Out!
The next step is to test. Of course, after you’ve built this entire thing with all the mechanisms make sure that it will work out properly on the field and whenever you’re doing any type of practice as such. Start at slow speeds first and then you can gradually keep increasing to higher speeds. Ensure that the machine operates safely and in the desired way even with these increments of speed.
Conclusion
So well there you have it! The perfect way to make the pitching machine of your choice all this does seem the best budget-friendly option or even just a great way for a fun project. But because of several safety issues, you must take care and keep being careful. I’d suggest that you buy pitching machines, they come for under 40$ sometime. But I hope this article helped you to get an understanding of how to build your own pitching machine.
